Welcome to Sybotanica! Are you a plant lover who has always wanted to learn how to take plant cuttings on water? You've come to the right place! This is exactly what we're going to teach you in this blog today!
Growing cuttings can be a challenging hobby, but the results are very rewarding. In this blog, we'll take you step by step through the process of cutting plants on water. We'll give you all the tips and tricks you need for success, so sit back and discover how to easily expand your plant family.
Caution! To ensure that your cuttings will grow well, we recommend taking cuttings only in spring & summer. In the other seasons, there is simply not enough light for your new plant.
Is your cutting already looking big and strong? Get a coconut soil mix to transfer it to later when it is big enough.
Step 1: Choose the right plant
Before you start taking cuttings, make sure you choose the right plant! Not every plant is suitable to root in water. Choose plants with long stems and cuttings with at least four leaves.
Some good options are Philodendron, Fittonia, and Monstera. Also, make sure the stem is sturdy and does not bend. It is best to take the cuttings in the morning, as this is when the plants are still full of moisture and are less stressed.
Step 2: Take the cuttings
When you've found your perfect plant, it's time to start cutting! Cut the stem just below a node, making sure not to cut off any leaves that are too close to the main stem. Also remove the lower leaves to keep the water clean and to maximize airflow. It is best to use sharp, clean scissors to avoid damaging your stem.
Step 3: Place your cutting in water
Now you're ready to place your cutting in water! Fill a glass or vase with tap water and place the cutting in the water. Make sure the leaves are not in the water (as they may rot). It is important to keep the water at room temperature so it is not too cold or too hot for the plant. Place the vase in a sunny spot in the house, but out of direct sunlight. The plant needs about six to eight hours of light a day, so put it in a place where it gets plenty of sunlight.
Step 4: Care of the cuttings
Once your cuttings are ready, you’ll need to take good care of them. Make sure you change the water daily and check the water level in the vase. If the water level is low, add more water to keep the nodes submerged.
If the water becomes a little murky, replace it with clean water to prevent bacterial growth. Eventually, the cutting will grow roots, after which you can repot it in soil.
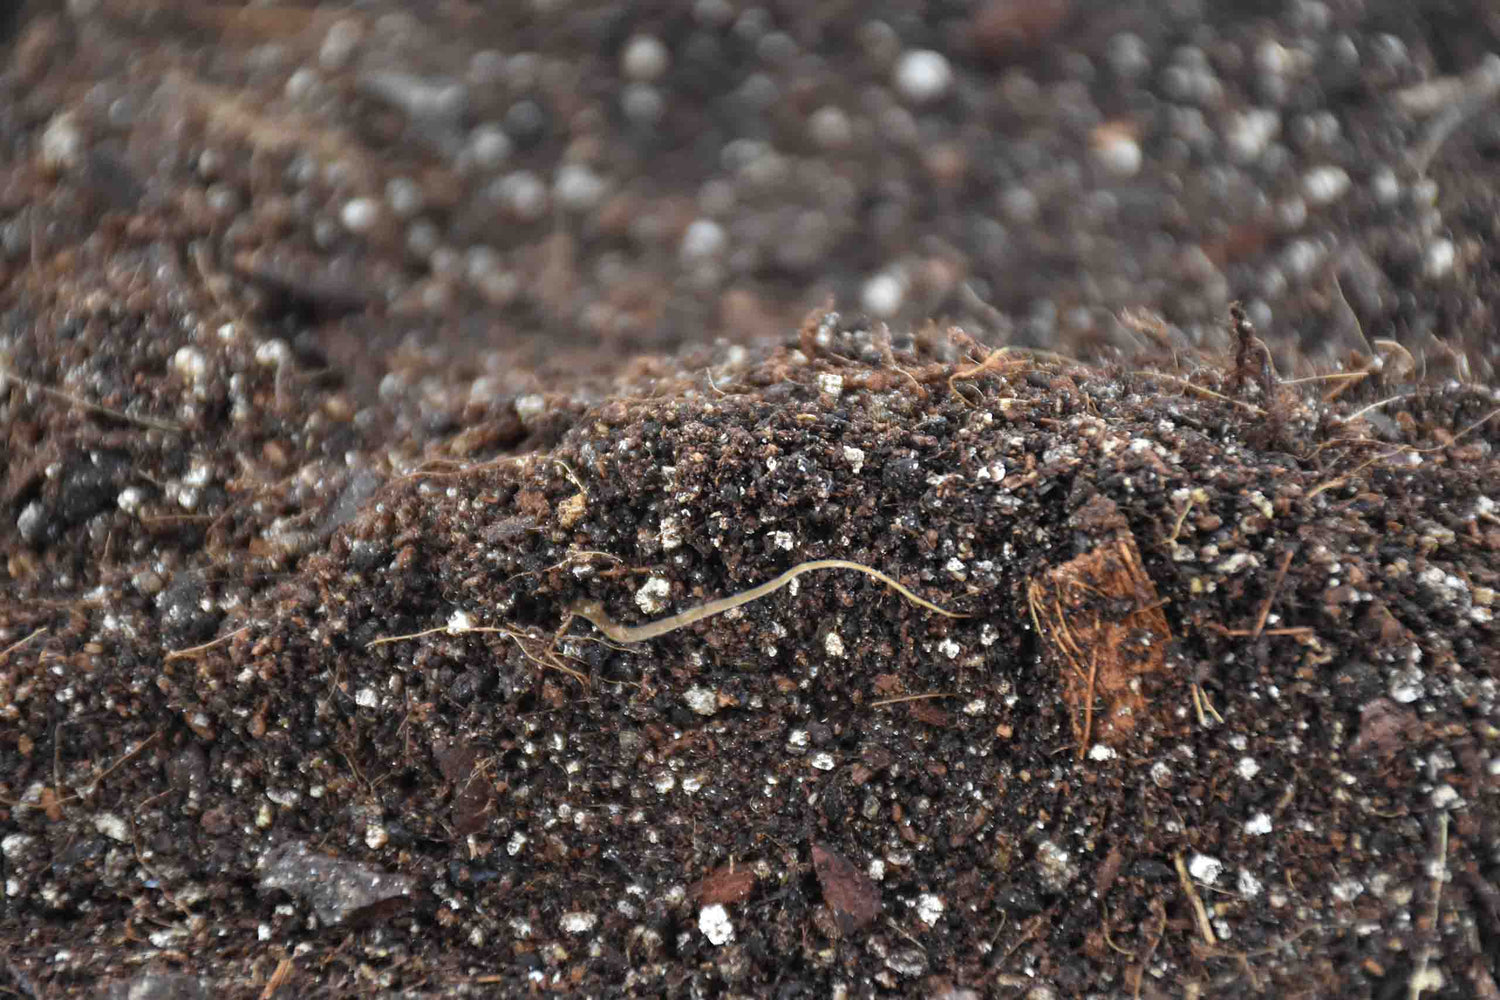
Step 5: Transplanting the cuttings
Once your cutting is big enough you can transplant it to a coconut soil mix. Fill a pot with fresh soil mix, carefully place the plant in the soil, and water thoroughly. Place the plant in a spot with partial shade, so it doesn't dry out too quickly in the sun. Keep the soil slightly moist to encourage the roots to grow in the new soil.
Conclusion
Growing beautiful plants on water can be very easy with the right approach. By following the steps above, you can ensure that your new plant family expands considerably!
Remember to select the right plant, cut the cuttings in the right places, place it at room temperature in bright, indirect light and take good care of it. With these steps, you'll be enjoying a beautiful new plant in your collection in no time!


